
Bitcoin Wallet Guide 101: Breadwallet Part 2


Bitcoin Wallet Guide 101: Breadwallet
Part 2: Send & Receive Bitcoin with Breadwallet for iOS | Download Now
Choose a Pin Number
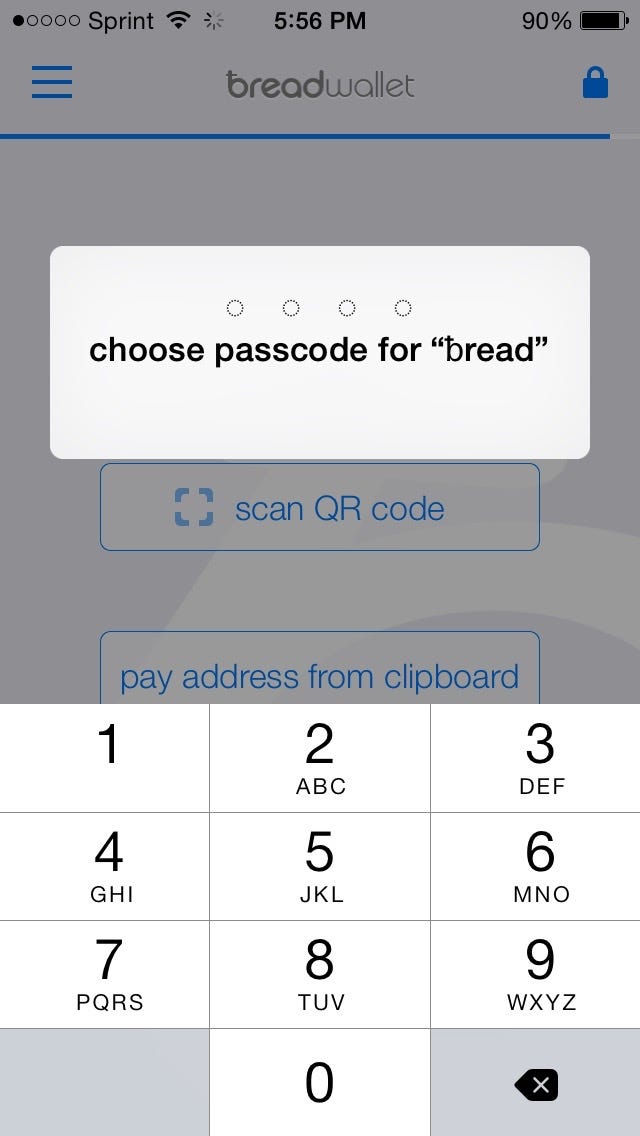
Step 4: Before we get acclimated with the UI, the app forces us set up a 4-digit pin to unlock use of the app’s features. If someone were to pick up your phone you wouldn’t want them having access to your bitcoin now, would you? Choose something you will remember and the app will get rid of the small blue padlock on the top right corner of the app (right below your battery life icon) indicating that the app is unlocked and ready to send and receive bitcoin.
Breadwallet UI
Step 5: Getting familiar with the user interface before sending or receiving Bitcoin.

As you can see above, the app has two main screens (indicated by the two small dots at the bottom) that you can swipe left and right to access. On the first page of the app we have two buttons in the center:
“scan QR code” and “pay address from clipboard”
Scan QR Codes to Send Bitcoin
Step 6: The “scan QR code” button does exactly what it says:
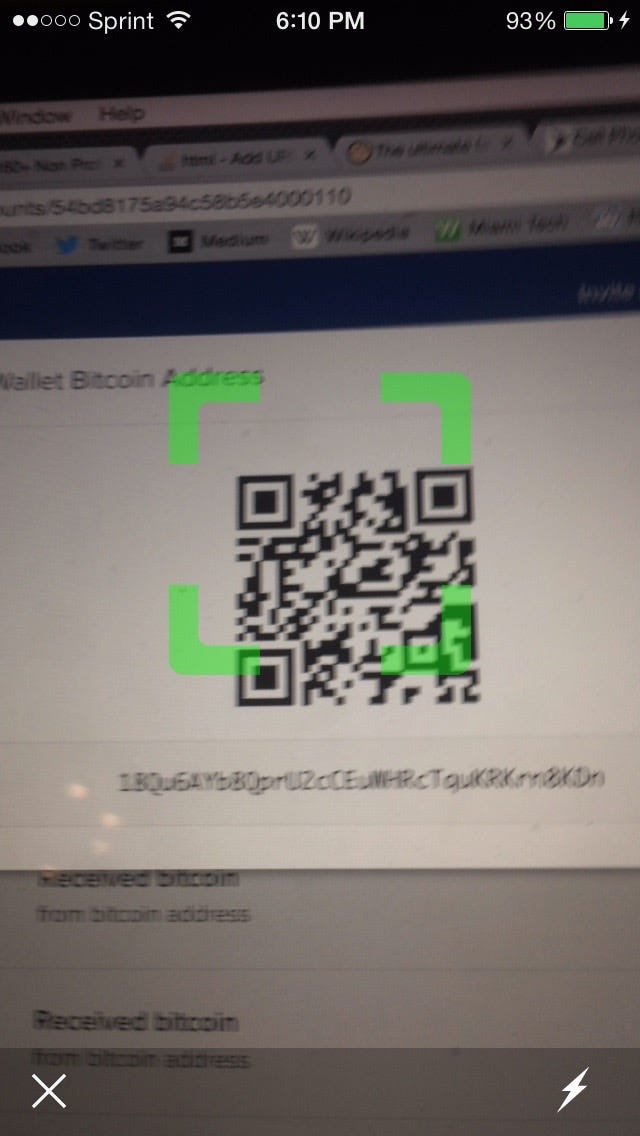
It opens up the camera (if you haven’t allowed Breadwallet access to your camera, please do so by going to Settings >> Privacy >> Camera and selecting Breadwallet) and lets you take images of QR codes in order to make payments.
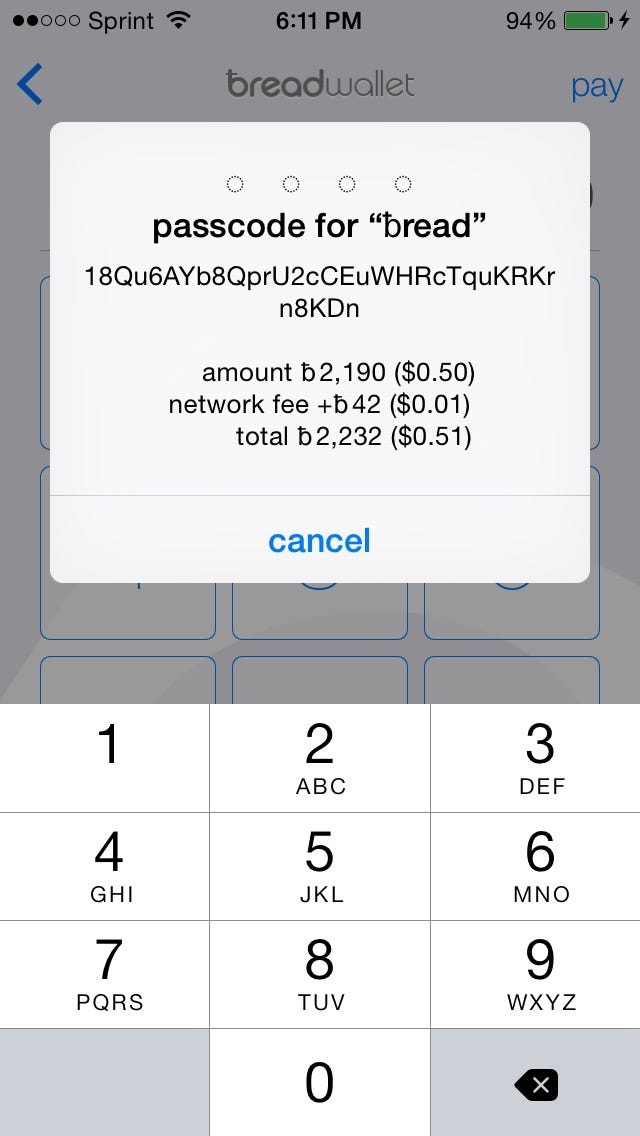
As you can see above the camera grabs the QR immediately and creates a generates the payment screen. The camera used the public key embedded in the QR code to send bitcoin to an external account. Here I chose to send $0.50 to a Coinbase account. You can click the arrow between the two forms of currency (bitcoin and dollars) to select how you would like to input the total amount sent.
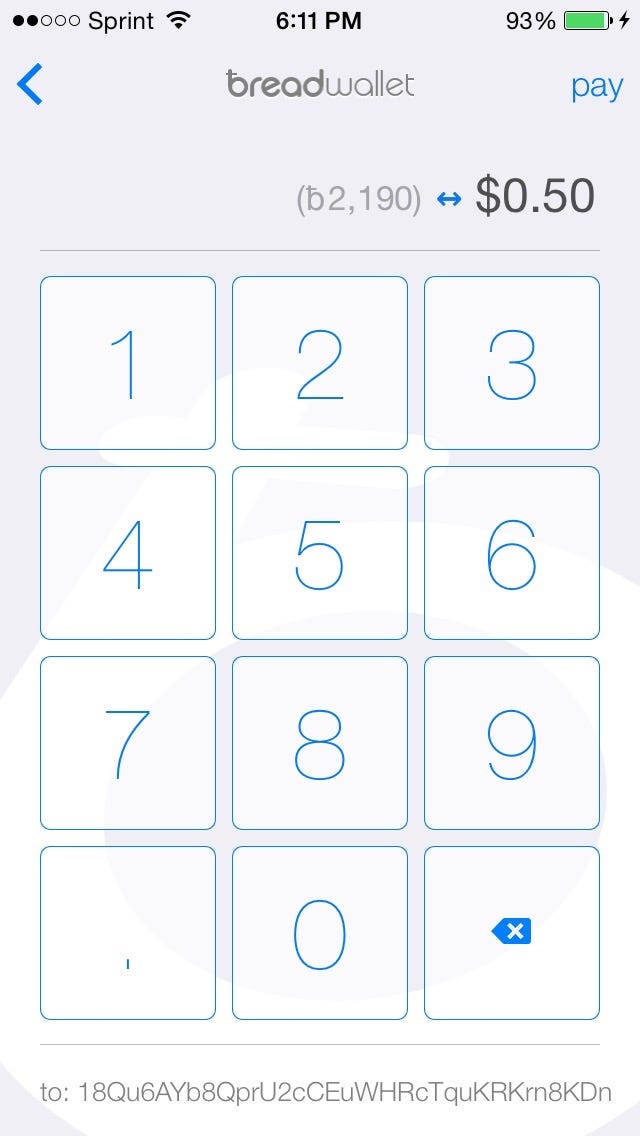
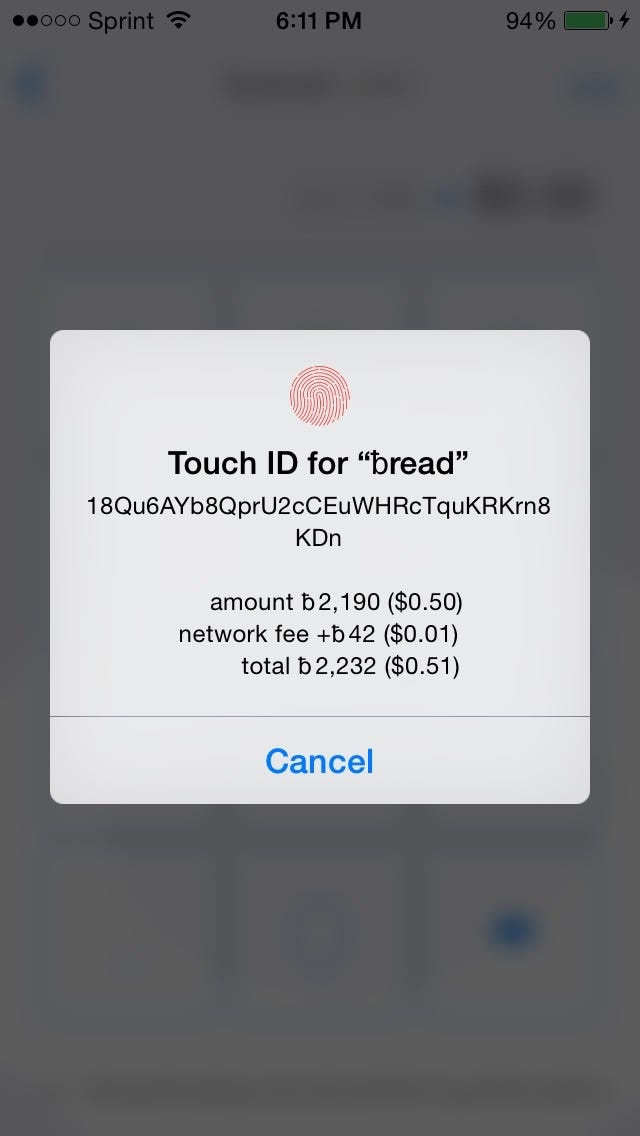
At the bottom of the screen you can see a confirmation of the address you sending bitcoin to. Just click “pay” at the top right of the screen once you’re done entering the total amount you’d like to send, and breadwallet will ask you for your pin or a fingerprint if you have an iPhone that supports Touch ID.
Pay An Address From Your Clipboard
Step 7: The “pay address from clipboard” button takes a public key that you copied to your mobile phone’s clipboard and uses that to make a payment:
Once you click the “pay address from clipboard” button you are sent to the same screen to input the amount of Bitcoin you’d like to send. The app works the same way as before. Refer to step 6 for more info.
Receive Bitcoin Using Breadwallet
Step 8: Now swipe left on the second page of the main app screen to see the “receive money” screen:
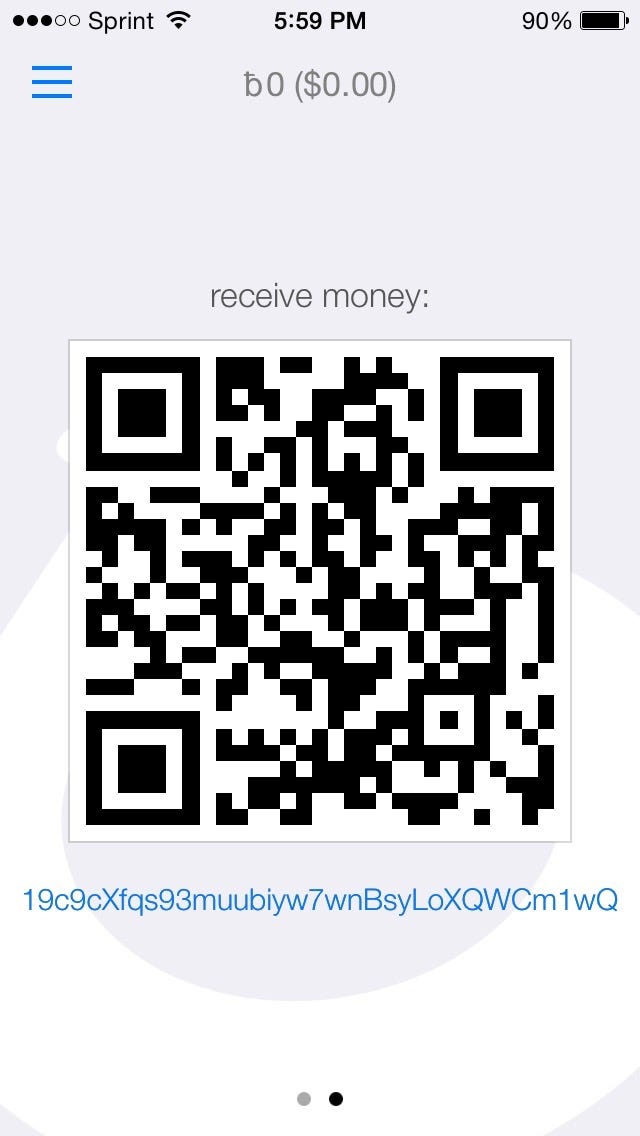
This is the easiest part about bitcoin. All you have to do is hold up this QR code for any camera to scan and that’s it! Whoever is sending you money will not have you public key in order to send you a payment.
Checking Your Transaction History
Bonus Step: You can easily check your transaction history by clicking this button on the top left of the app screen:
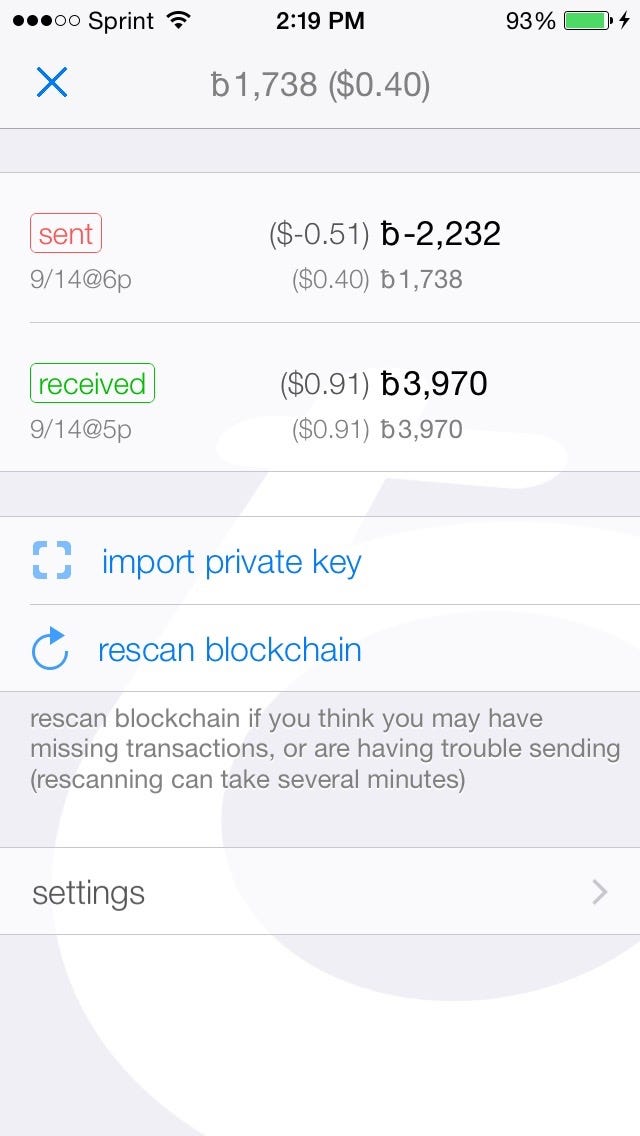
Once in you will most likely be asked for your passcode again. Enter it or use Touch ID and you will be presented with this screen detailing your transactions.
You can now send and receive bitcoin using your newly setup breadwallet! My next wallet guide I’ll be detailing how to setup a bitcoin wallet using Hive’s services.
Related Posts
There’s a lot of mobile bitcoin wallets out there in today’s app market. Which one you choose is a matter of personal preference and choice of features. Most have built out extensive security features like easy ways to backup your wallet and rotating addresses for every transaction. Here’s a concise guide on how to start your first Bitcoin wallet using Breadwallet.
On October 6th, 2014 the BearWhale was slain on the BitStamp exchange. The people at shapeshift.io commissioned two artists rendering of the event. The more humanistic version is depicted above.